
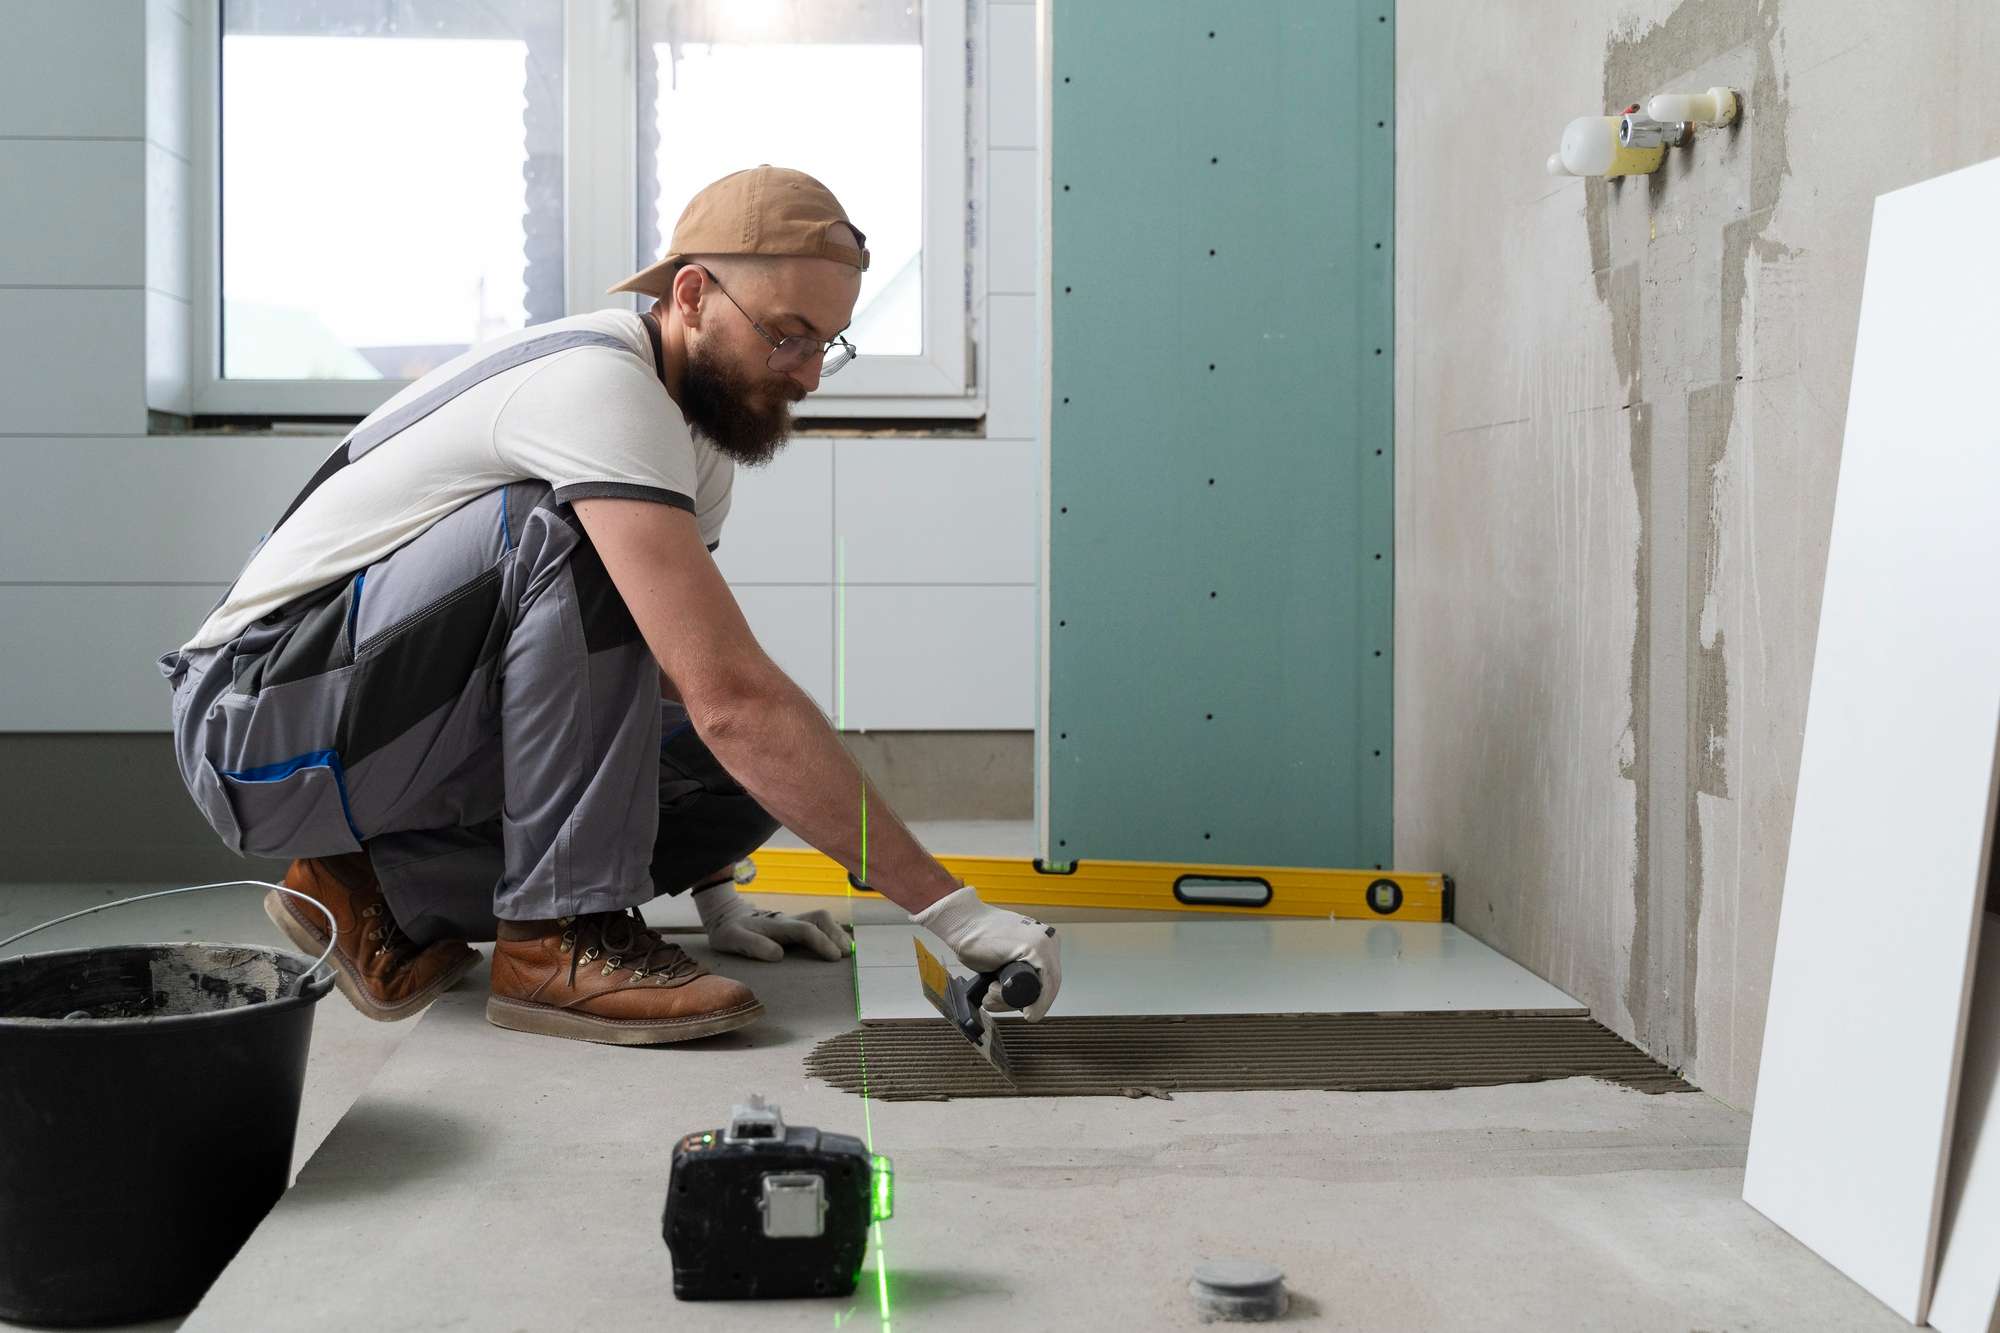
When it comes to tile installation—whether it’s a bathroom, kitchen, or commercial space—surface preparation is the invisible hero. A beautiful tile job might seem to depend solely on materials and layout, but what’s underneath is just as important. Skipping or rushing surface prep can lead to tile failure, cracks, or a short-lived renovation.
At GMT Renovations, we’ve seen firsthand how proper preparation creates durable, professional-looking tile surfaces that stand the test of time.
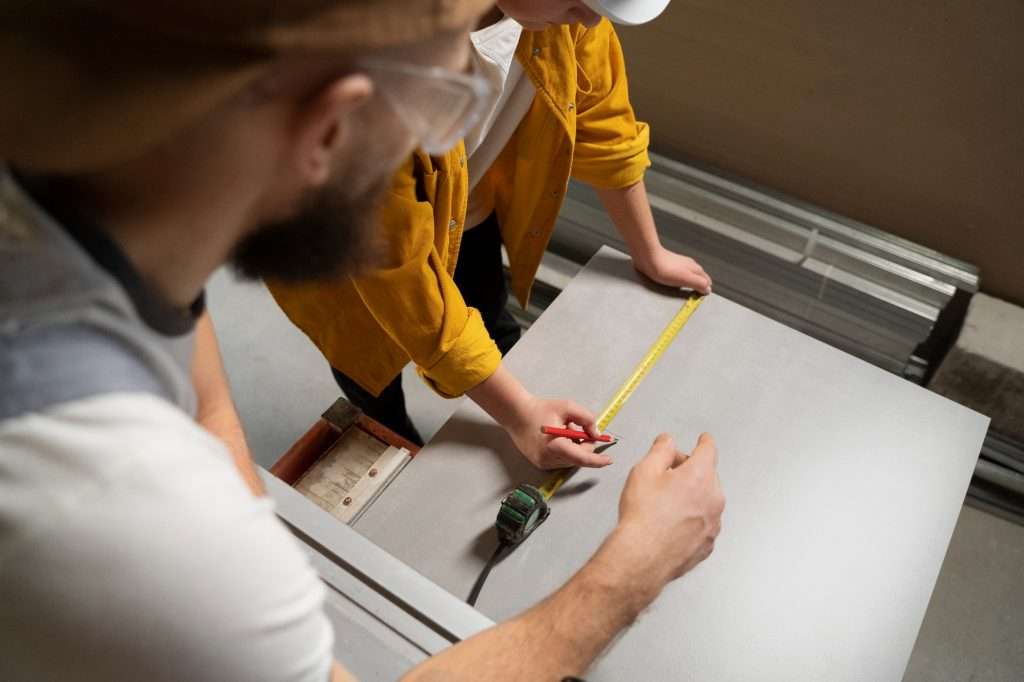
What Is Surface Preparation?
Surface preparation involves getting the substrate (the layer beneath your tiles) ready for installation. This includes:
- Cleaning
- Leveling
- Patching
- Priming
- Moisture testing
The process varies depending on the area (floor or wall), the type of tile, and the existing material beneath.
Why Surface Prep Matters in Tiling
Surface preparation is not just a step—it’s the foundation. Here’s why it matters:
✅ Ensures Strong Adhesion
Tiles need a stable, clean surface to bond properly. Dust, grease, or unevenness can compromise the adhesive.
✅ Prevents Cracking & Lifting
Unleveled or weak substrates cause tiles to crack or pop loose over time, especially under heavy foot traffic.
✅ Improves Waterproofing
In areas like bathrooms or kitchens, surface prep allows for better integration with waterproofing membranes, reducing the risk of mold or leaks.
✅ Saves Time and Money Long-Term
A well-prepped surface minimizes callbacks, repairs, and wasted tiles—delivering better ROI.
Common Problems Caused by Poor Prep
| Problem | Cause | Consequence |
|---|---|---|
| Cracked Tiles | Uneven surface, no expansion joints | Structural instability |
| Hollow-sounding tiles | Poor bonding due to dust or uneven floor | Loose tiles, potential detachment |
| Grout cracking | Substrate movement or flex | Water penetration, aesthetic issues |
| Mold or mildew buildup | Inadequate moisture barriers | Health concerns, odor, retiling needed |
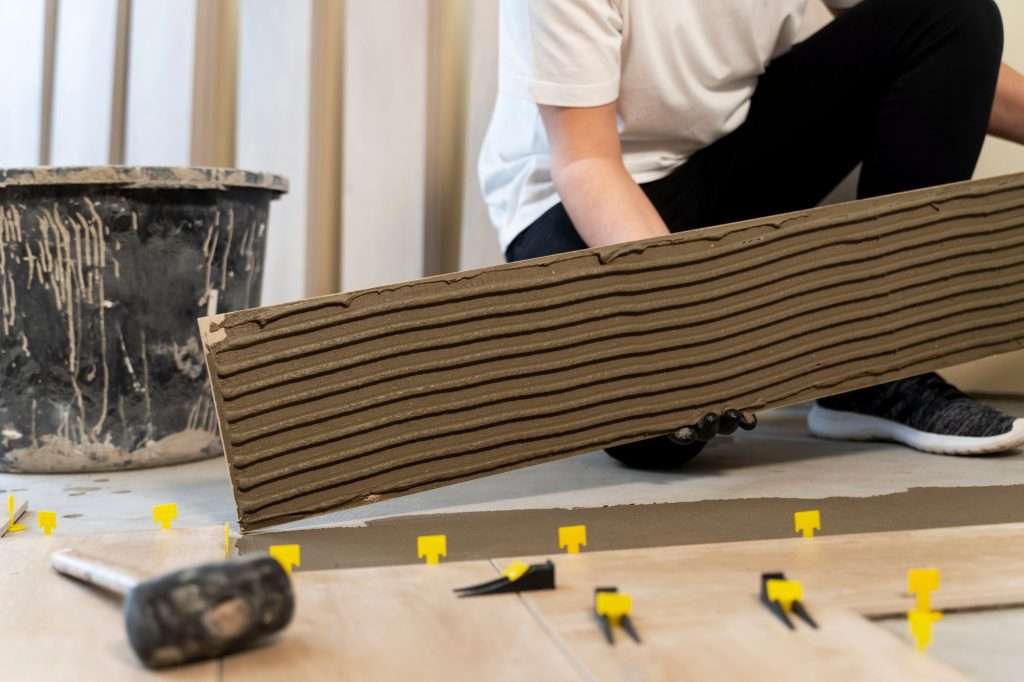
Steps to Prepare a Surface for Tiling
Here’s a basic walkthrough that GMT Renovations follows before every tile project:
1. Inspect and Clean
Remove dirt, paint, oils, or old adhesives. Use vacuum or damp cloths for deep cleaning.
2. Repair Damage
Patch cracks or holes in drywall, concrete, or subflooring using filler or leveling compound.
3. Check for Leveling
Use a level to identify dips or high spots. Floors that aren’t flat should be leveled with self-leveling compound.
4. Prime the Surface
A tile primer (like bonding agent) helps improve adhesion—especially on porous or dusty substrates.
5. Moisture Testing
In basements or bathrooms, check the surface for moisture before tiling. If needed, apply a waterproof membrane.
Tools & Materials for Surface Prep
| Tools | Purpose |
|---|---|
| Level or Laser Level | Check flatness |
| Floor Scraper | Remove old adhesive or mortar |
| Vacuum Cleaner | Remove dust and debris |
| Trowel / Putty Knife | Patch holes and apply compounds |
| Moisture Meter | Check for moisture content |
| Materials | Used For |
|---|---|
| Floor Leveling Compound | Flattening uneven floors |
| Tile Primer | Enhancing adhesive bond |
| Patch Filler | Repairing cracks/holes |
| Waterproof Membrane | Bathrooms or wet areas |
Special Considerations for Different Tile Areas
Bathroom Tile Installation
- Waterproofing is critical.
- Always install cement backer board or waterproof membrane.
- Floor leveling is a must for walk-in showers.
Kitchen Tile Installation
- Oil and grease must be removed thoroughly.
- Substrates near appliances or sinks should be moisture-resistant.
Commercial Tile Installation
- Subfloor should handle heavy foot traffic.
- Expansion joints and flexibility are key in high-use areas.
Pro Tip: Plan Ahead for In-Floor Heating
If you’re considering upgrading your space with In-Floor Heating, surface prep becomes even more critical. The heating mats or cables are embedded within the floor leveler beneath the tiles. Any misstep during prep—like air bubbles or uneven layers—can lead to heating failure or tile damage. Always coordinate both installations together for seamless results.
Long-Lasting Tile Starts with Smart Preparation
Surface preparation may not be the flashiest part of tiling, but it’s undeniably the most important. Whether you’re updating your kitchen backsplash, remodeling a bathroom, or retiling an entire commercial floor, what lies beneath will determine how long your results last.
At GMT Renovations, we don’t cut corners. Our tile installation process starts with precision prep—because lasting beauty starts from the ground up.

Adi is the founder and lead professional behind GMT Tile & Reno Inc, bringing over 20 years of hands-on experience in tile installation and renovation. Known for precision, craftsmanship, and attention to detail, he leads projects across Toronto with a strong commitment to quality results and client satisfaction in both residential and commercial spaces.
