
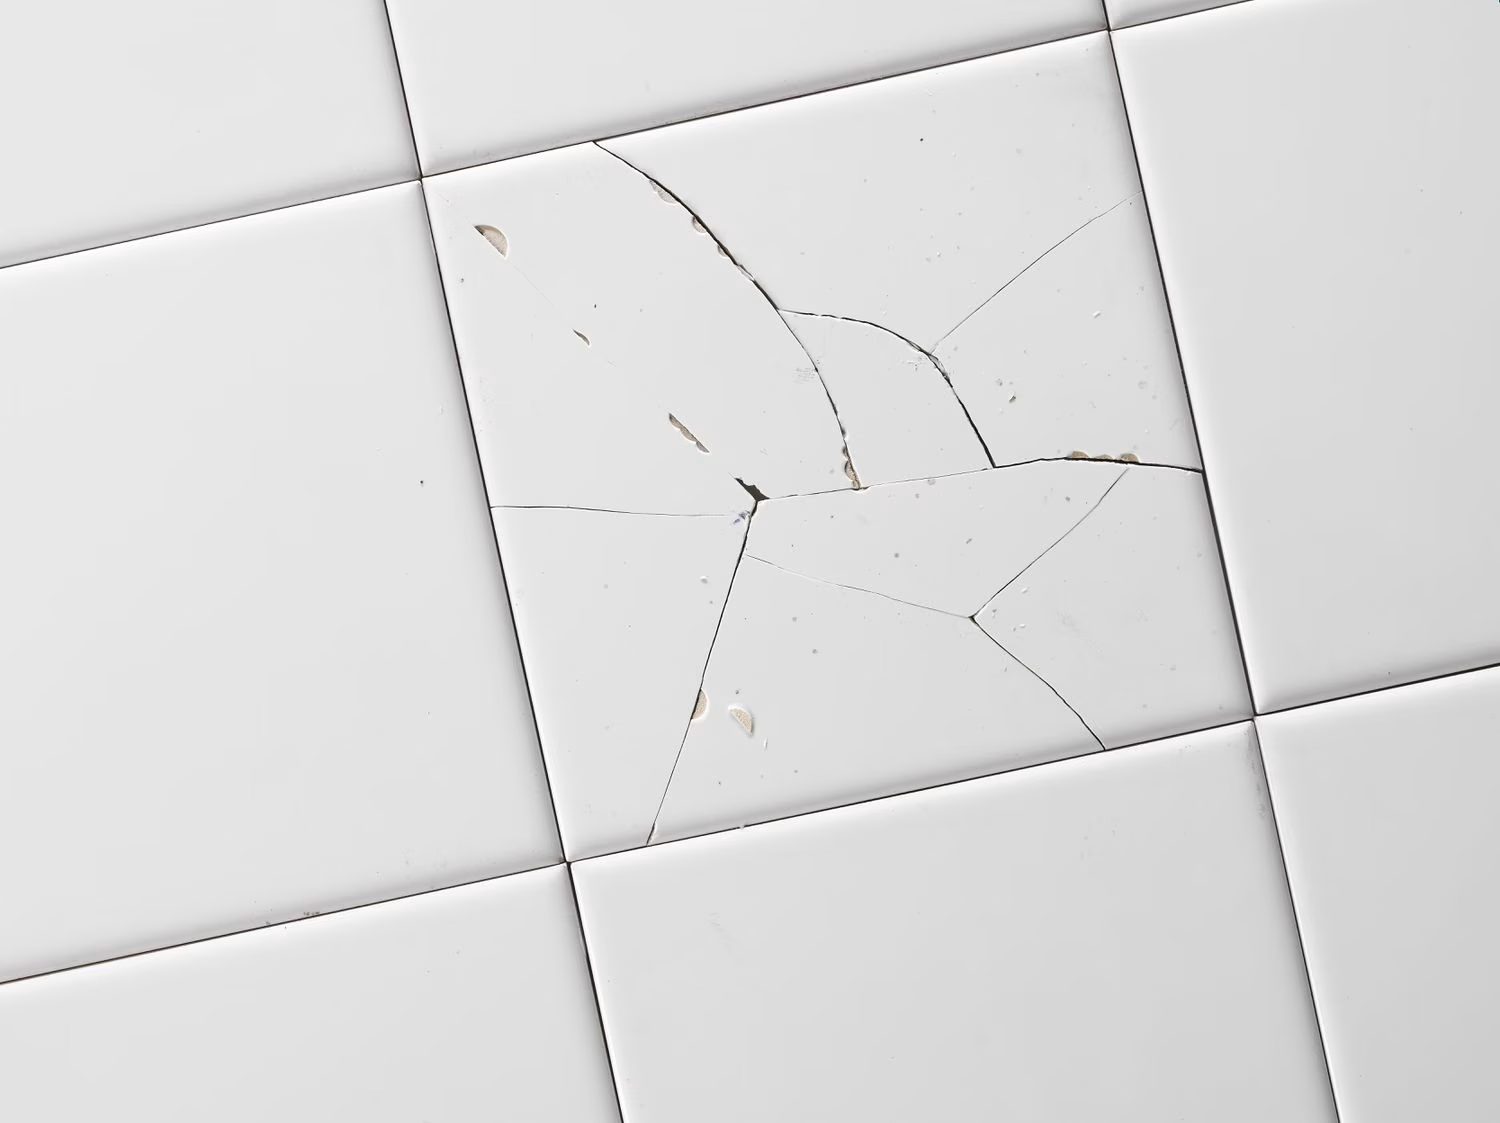
A single cracked tile can look like a straightforward repair: remove it, fit a replacement and restore the grout.
That may be appropriate. Before proceeding, however, establish what needs assessing around and beneath the damaged piece.
The crack could relate to a local event, such as an impact. It may also require investigation of the surrounding installation. Appearance alone cannot confirm the cause.
For Toronto homeowners, a useful repair discussion separates three questions: what happened, what condition exists now and whether a local replacement can address the findings.
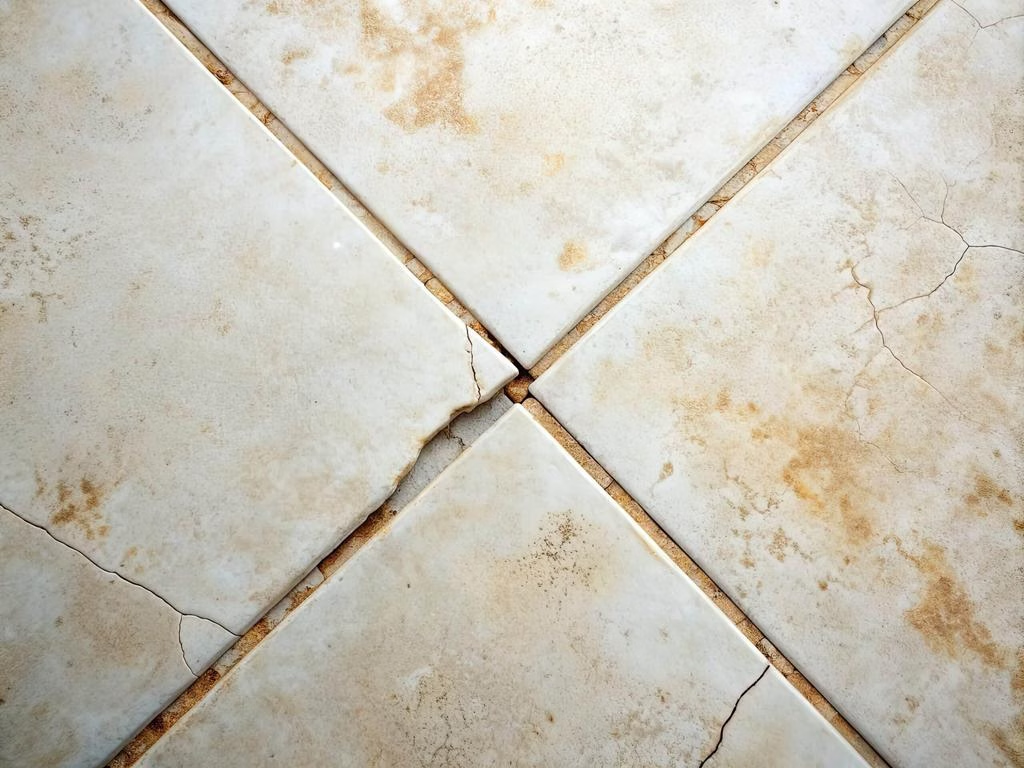
Record the Damage Before Disturbing It
Take a photograph showing the tile within the room, followed by a closer image where safely accessible.
Include nearby doorways, cabinets or other fixed features so the location remains clear.
Note:
- When you first noticed the crack.
- Whether a specific incident occurred.
- Whether the appearance has changed.
- Whether adjoining tiles are affected.
- Whether nearby grout has changed.
- Any previous repair in the same area.
Do not pry up the tile or remove grout to investigate before discussing the repair.
If there are loose pieces or sharp edges, keep people and pets away from the affected spot and arrange an assessment.
Distinguish One Damaged Piece From a Pattern
Look at the surrounding floor without trying to test it by force.
Is the damage limited to one tile? Does a line continue across several pieces? Are there separate cracks elsewhere?
Record those observations rather than naming the cause.
| Observation | What to Tell the Contractor |
|---|---|
| One tile cracked after an object fell | The incident and approximate date |
| A line crosses several tiles | Its route through the room |
| Grout has opened nearby | Which joints and when it was noticed |
| A previous replacement cracked again | Repair date and available records |
| Several unrelated areas are affected | Locations and whether they appeared together |
| Moisture or staining is present | Where it appears and any known history |
A pattern can help guide investigation. It does not establish the repair method by itself.
Avoid using a general rule such as “one crack means impact” or “several cracks mean structural movement.” The actual installation needs assessment.
Gather the Floor’s History
Previous work can provide useful context.
Look for the original installation invoice, product information and records of later repairs. Mention any renovation that affected the area.
Relevant history may include:
- When the floor was installed.
- Whether the tile replaced another covering.
- Previous damage in the same location.
- Work to nearby cabinets or appliances.
- Known leaks.
- Changes to adjoining flooring.
- Whether underfloor heating is present.
If the construction beneath the tile is unknown, say so.
A contractor should not have to infer that information from the age of the house or the appearance of the finish.
Ask What Can Be Assessed Without Removal
An initial visit can help define the concern, but it may not reveal every concealed condition.
Ask the contractor to distinguish:
Visible findings: What can be observed at the surface.
Reported history: Information you have supplied.
Unconfirmed conditions: What remains beneath the tile.
Further investigation: Any proposed opening or assessment needed before the repair is finalised.
Our residential tile installation service should be discussed around those findings and limitations.
A quote for replacing one tile should not be mistaken for confirmation that every part of the floor beneath it is suitable.
Decide Whether Opening the Area Has a Clear Purpose
If removal is proposed, ask what it is intended to establish.
The scope should explain:
- Which area will be opened.
- What will be assessed.
- How findings will be documented.
- Whether the final repair depends on those findings.
- How additional work will be priced.
- Who approves changes.
This is particularly important where a concealed system, such as floor heating, may be present. Tell the contractor before any removal begins so the appropriate approach and responsibilities can be established.
Do not assume that investigation and reinstatement are both included in a short repair price.
Confirm Whether a Suitable Replacement Exists
A spare tile is helpful, but it is only one part of the repair.
Check whether you have material from the original installation. Keep its packaging or identifying information where available.
If replacement material needs purchasing, confirm:
- Manufacturer and product.
- Size.
- Thickness.
- Finish.
- Colour and pattern.
- Any relevant production references.
A tile sold under the same name later should not automatically be assumed to match exactly.
If the original is unavailable, ask what alternatives are practical. A larger replacement area or a deliberate design change may deserve discussion, but neither should be presented as necessary without explaining why.
Agree on the Appearance of the Local Repair
A local repair connects new work to an existing finish.
Discuss the expected relationship between:
- Replacement tile.
- Retained tiles.
- New and existing grout.
- Surface texture.
- Pattern direction.
A close match may still remain noticeable. Review the proposed materials and limitations before approval.
Also confirm how the replacement will be oriented if the product has directional markings or a repeated design.
The goal is a realistic agreement about the result—not a promise that any available piece will disappear into the floor.
Separate the Repair Boundary From the Visible Crack
The damaged tile may not define the full working area.
Access, adjoining conditions or findings after removal may affect the extent. Ask why the proposed repair stops where it does.
A useful explanation identifies:
- What is being removed.
- What remains.
- How the new work meets retained material.
- Whether adjacent repairs are included.
- What could change the boundary.
A wider scope should have a clear reason. A small repair should have a credible plan for addressing the confirmed condition.
Do not choose solely by counting the number of tiles in each quote.
Include Grout and Other Joints in the Discussion
The surrounding joints form part of the finished repair.
Ask which joints will be renewed and how the selected materials suit the installation.
Avoid directing the contractor to fill every visible opening with the same product. Different junctions may need different treatment within the installation system.
Clarify the intended appearance and any maintenance guidance supplied afterward.
If grout has repeatedly opened near the damaged tile, keep that history visible in the assessment rather than treating it as an unrelated cosmetic task.
Plan Access and Return to Use
A small repair can still affect an important household route.
Tell the contractor if the area is beside the only entrance to a room, near an essential appliance or within a busy passage.
Ask:
- What needs moving.
- Which areas will be unavailable.
- Whether appliances require another provider.
- How the work zone will be managed.
- When normal use can resume.
- What cleaning precautions apply.
Follow instructions for the selected materials and site conditions.
Do not assume the floor is ready for walking, furniture or cleaning simply because the replacement looks finished.
Compare a Local Repair With Wider Work
If more than one option is appropriate, compare what each achieves.
| Option | What the Proposal Should Explain |
|---|---|
| Replace one tile | Findings supporting a local repair and its limitations |
| Repair a defined group | Why adjoining pieces form part of the scope |
| Investigate first | What remains unknown and how the next decision will be made |
| Replace a wider area | Evidence supporting the extent and connections to retained flooring |
A larger project is not automatically better because it replaces more material.
Likewise, the smallest initial price may not resolve a concern that extends beyond the visible piece.
The recommendation should connect the findings with a defined outcome.
Keep the Repair Record
At completion, retain the scope, approved changes and available photographs.
Record:
- The repair location.
- What was found.
- What was completed.
- Products used.
- Any remaining uncertainty.
- Care and return-to-use instructions.
If a crack appears again, document it before another repair. Note whether it follows the previous location or occurs elsewhere.
That history helps the next assessment begin with evidence rather than a general statement that the floor has cracked before.
Frequently Asked Questions
Can one cracked floor tile be replaced on its own?
It may be appropriate where the findings support a local repair and suitable replacement material is available. The surrounding installation and any concealed concerns still need consideration before the scope is confirmed.
Does a crack across several tiles identify the cause?
No. The pattern is useful information, but it does not establish a diagnosis by itself. Record the route, changes and repair history, then arrange an appropriate assessment.
Will a spare tile guarantee an invisible repair?
No. It can help with material availability, but grout, condition, orientation and the surrounding finish also affect appearance. Discuss realistic expectations and the repair method before work begins.
Understand the Crack Before Replacing the Piece
A useful repair addresses the condition behind the proposal, not just the visible line.
Have damaged floor tile in your Toronto home? Request a quote from GMT Tile & Reno and include photographs, any installation history and details of previous repairs so we can discuss the next step.

Adi is the founder and lead professional behind GMT Tile & Reno Inc, bringing over 20 years of hands-on experience in tile installation and renovation. Known for precision, craftsmanship, and attention to detail, he leads projects across Toronto with a strong commitment to quality results and client satisfaction in both residential and commercial spaces.
