
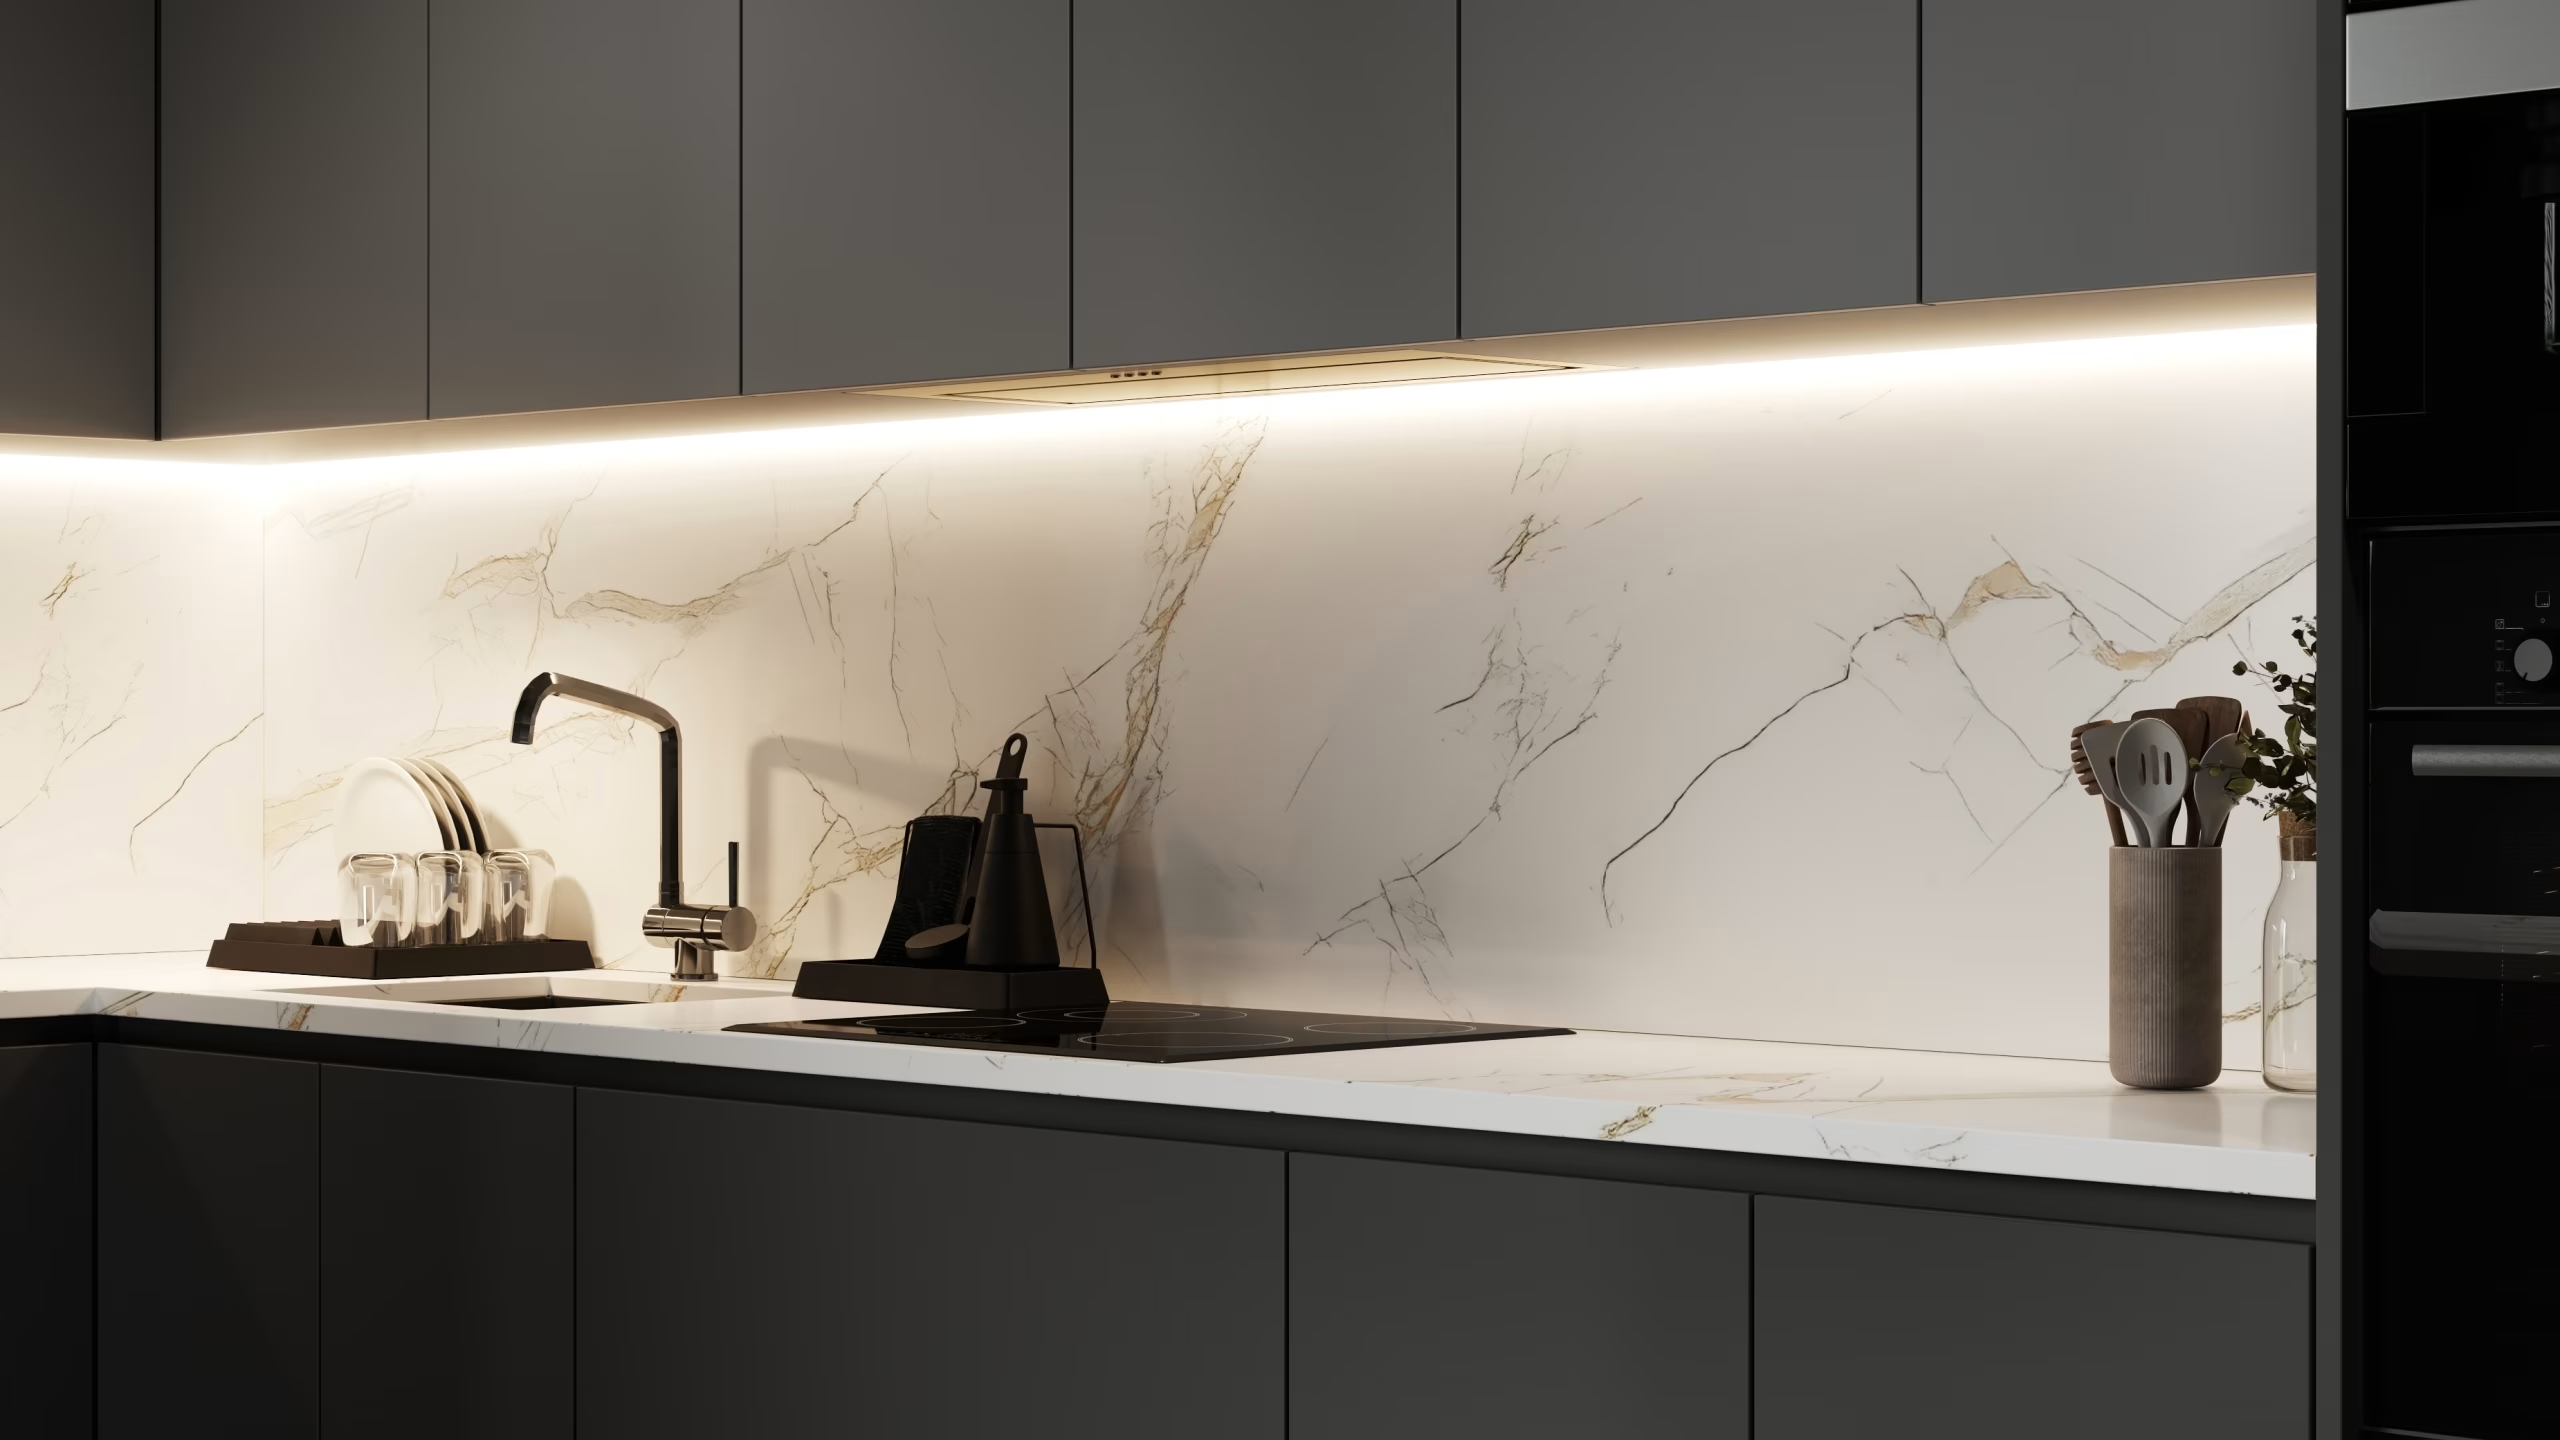
Choosing backsplash tile is often easier than deciding where it should end.
Should it follow the countertop to its outer edge or stop beneath the upper cabinet? Should it continue around a corner? What happens beside a window or behind a cooker hood?
These boundaries influence the finished appearance as much as the tile itself. When they remain unresolved, an attractive material can end in an awkward strip or meet a painted wall without a clear finishing detail.
For Toronto homeowners, the useful starting point is a drawing of the whole kitchen wall. Establish the tiled area before calculating quantities or approving the layout.
Begin With the Countertop and Cabinets
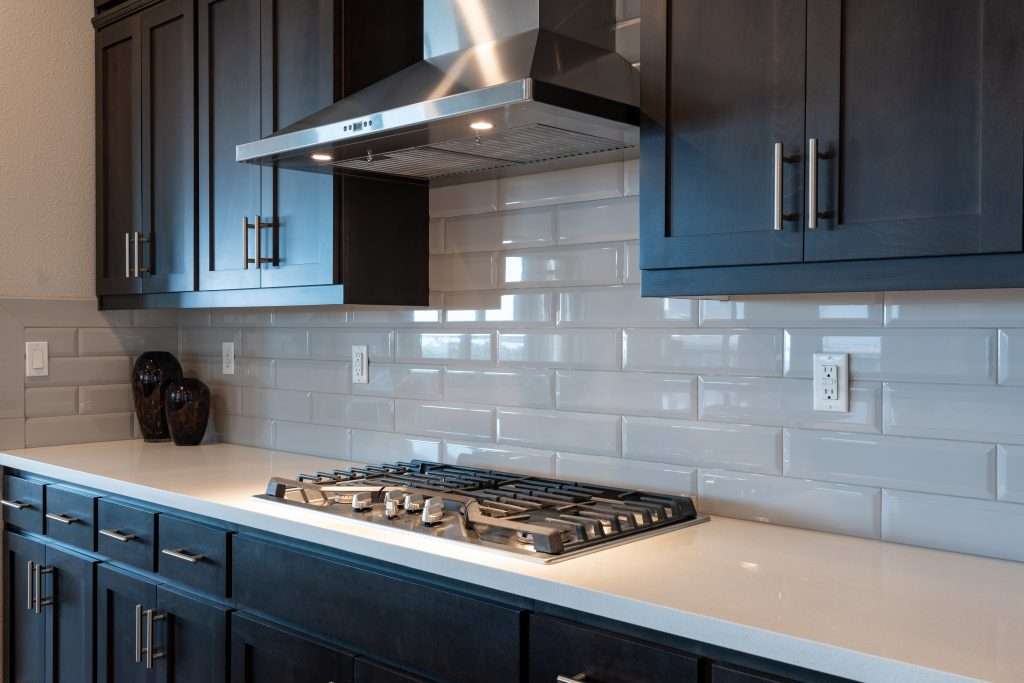
The countertop, upper cabinets and tall units provide the main reference points for a backsplash.
Confirm their final positions before treating the tile boundary as settled. If cabinetry is still being adjusted, record which dimensions remain provisional.
Look at:
- Countertop ends.
- Upper-cabinet ends.
- Tall pantry cabinets.
- Open shelves.
- Changes in cabinet height.
- Areas without upper cabinets.
- Returns at corners.
These features do not always align. A countertop may extend beyond the cabinet above it, creating a choice about where the tile should stop.
That choice should be deliberate rather than decided by whichever edge the installer reaches first.
Our kitchen tile installation service should connect the backsplash design with the confirmed cabinetry and surrounding finishes.
Compare the Two Common End Points
Where an upper cabinet and countertop end at different positions, review both possible boundaries.
Following the upper cabinet may create a clear relationship with the cabinetry, but leave part of the wall above the countertop untiled.
Following the countertop may cover that wider area, but create a vertical tile edge beyond the cabinet.
Neither is automatically correct.
Ask what each looks like from the room’s main viewing positions. Include the exposed-edge detail in the comparison.
A marked photograph or simple elevation drawing can show the difference more clearly than discussing it only while standing beside the wall.
Decide What Happens Around a Corner
A backsplash that turns onto a side wall needs its own stopping point.
Consider what the return achieves. Is it protecting a regularly splashed area? Connecting visually with another wall? Continuing behind a work surface?
Then identify where it ends.
| Side-Wall Condition | What to Review |
|---|---|
| Countertop meets a full-height wall | Extent of tiling and exposed outer edge |
| Short return beside a sink | Practical coverage and visual proportion |
| Open countertop end | Whether a return belongs in the design |
| Adjacent doorway | Relationship with the trim |
| Nearby shelf or cabinet | Alignment and finishing boundary |
Avoid adding a narrow return simply because a small amount of tile remains.
The continuation should serve the room and have a defined finish.
Review the Area Behind the Cooking Surface
The cooking area can create a different backsplash arrangement from the rest of the kitchen.
There may be a hood, wall-mounted equipment, shelving or a larger exposed wall area above it.
Coordinate the design with the selected appliances and their installation instructions. Tile should not be treated as permission to disregard appliance clearances or other requirements.
Confirm:
- Final appliance positions.
- Hood dimensions.
- Any visible area behind or above the equipment.
- The proposed tile height.
- Which provider handles appliance-related work.
- Whether surrounding finishes remain accessible.
If an appliance choice changes, review the backsplash drawing before installation proceeds.
Plan the Window as Part of the Tiled Wall
A kitchen window can interrupt the pattern and introduce several edges.
Decide whether tile stops at the existing trim, continues into an agreed reveal or meets another specified finish.
Include the sill and surrounding details in the discussion.
Ask:
- Will the window trim remain?
- Is the sill being replaced?
- What happens at the corners?
- Are there narrow areas between the window and cabinets?
- Does the tile layout look balanced around the opening?
Do not assume that an inspiration photograph uses the same construction as your window.
Any proposed change to the window surround needs a suitable detail and a clear responsibility for the work.
Place Outlets and Controls on the Drawing
Outlets, switches and controls affect the visible tile arrangement.
Record their confirmed locations before planning the pattern. If relocation is proposed, the electrical work needs an appropriate provider and coordination before the relevant surfaces are finished.
Discuss:
- Existing positions.
- Planned changes.
- Cover-plate sizes.
- How the tile pattern meets them.
- Who removes and reinstates the necessary components.
Do not move electrical fittings yourself to simplify the tile layout.
The aim is to avoid discovering that a prominent outlet sits across an awkward cut after the pattern has already been approved.
Choose Tile Size With the Boundaries in View
A sample does not show how the tile fits between a countertop and an upper cabinet.
Compare the proposed format against the actual backsplash height and width. Include grout joints and the selected pattern.
Look for:
- Narrow cuts beneath cabinets.
- Small pieces at exposed ends.
- Pattern changes around windows.
- Alignment behind the cooking area.
- Cuts beside outlets.
- The relationship between adjoining walls.
The strongest layout is not always the one with a full tile at the starting edge.
Ask how shifting the arrangement affects the opposite end and the most visible areas.
Decide How Exposed Edges Will Finish
An exposed tile edge needs a defined treatment.
The available options depend on the selected tile and design. Ask what is suitable and what components need ordering.
Consider:
- The tile’s own edge appearance.
- Available matching pieces.
- A suitable trim profile.
- Corners.
- Connections to painted surfaces.
- The finish beside cabinetry.
Compare the edge treatment with nearby hardware and other materials. It does not need to match every metal finish, but the choice should be intentional.
A generic line in the quote saying “trim included” should identify enough detail for you to understand the expected appearance.
Clarify the Countertop Junction
The place where tile meets the countertop is another part of the installation detail.
Ask how the selected system treats that junction and how it should be maintained. Do not assume it should be finished identically to every joint within the tiled field.
Also establish the sequence. The countertop position and related work need to be sufficiently confirmed for the backsplash layout and installation.
If an existing countertop will remain, tell the installer about damage or concerns at its wall connection.
The backsplash should not be expected to conceal an unresolved issue without assessment.
Assess the Existing Wall
A backsplash update may begin with bare wall, an existing covering or an older tiled surface.
Those conditions can lead to different preparation scopes.
Ask the proposal to identify:
- Removal work.
- Disposal.
- Wall assessment.
- Included repairs.
- Preparation for the selected tile.
- Handling of additional findings.
If the old covering conceals damage, clarify how the next step will be explained and approved.
Do not assume that a new tile layer can be installed over every existing finish. The approach needs assessment for the actual wall and proposed system.
Compare a Local Backsplash With a Wider Feature
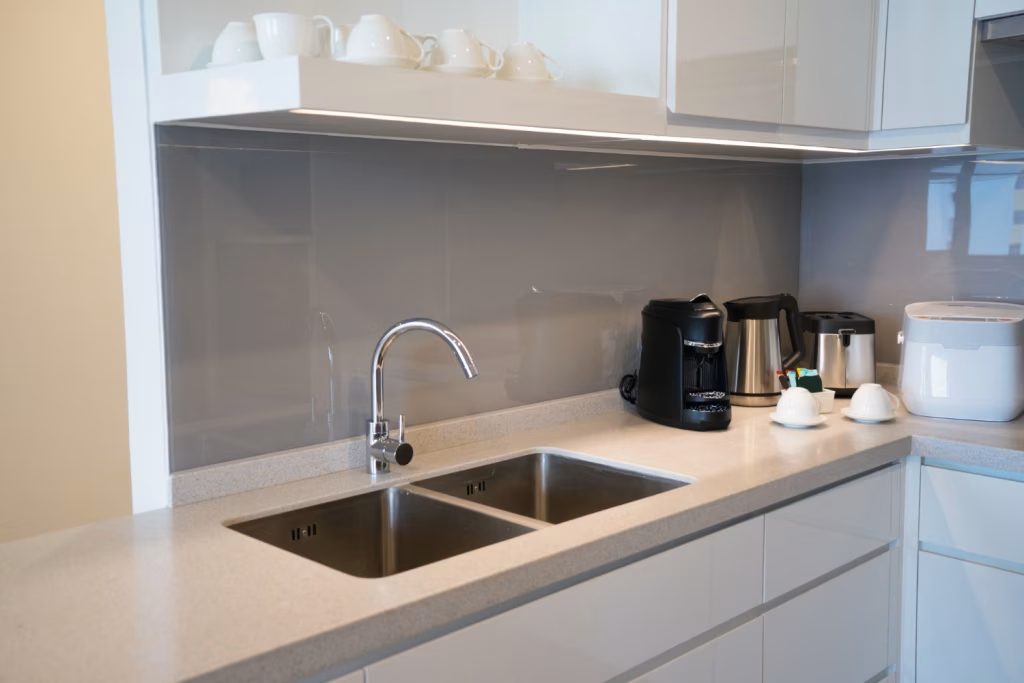
You may be choosing between tiling only the area beneath cabinets and extending tile over a larger wall.
Review what the additional area contributes.
A wider feature may create a strong focal point. It may also require more edge treatment, preparation and coordination around fittings.
Compare:
| Option | What to Establish |
|---|---|
| Under-cabinet backsplash | Clear boundaries at ends, corners and openings |
| Taller cooking-area feature | Relationship with the hood and adjoining tile |
| Full-height wall | Extent, interruptions and complete finishing scope |
| Selected return walls | Purpose and stopping points |
A larger tiled area is not automatically more complete. The appropriate extent follows the design and practical needs.
Approve the Boundary Before Ordering
Keep one marked drawing showing the agreed tiled surfaces.
Record:
- Start and stop points.
- Height changes.
- Returns.
- Window treatment.
- Pattern direction.
- Grout selection.
- Exposed-edge components.
- Relevant fitting locations.
Use that arrangement to agree quantities with the installer or supplier.
If the tile changes, revisit the layout. A different size or pattern can affect cuts and finishing pieces even when the total wall area stays the same.
Frequently Asked Questions
Should my backsplash end at the countertop or upper cabinet?
Compare both boundaries where they do not align. Consider practical coverage, the view from the room and how the exposed tile edge will finish. Neither stopping point is a universal rule.
Does the backsplash need to continue around a side wall?
Not automatically. Review what the return would protect or contribute visually, then define a clear stopping point. Include the edge treatment and pattern in the approved drawing.
When should outlets and appliance positions be confirmed?
Confirm the relevant positions before finalising the tile layout and installation. Coordinate any electrical or appliance-related work with the appropriate provider, and report later changes before tiling proceeds.
Make the Edges Part of the Design
A considered backsplash has clear boundaries, planned cuts and finishing details that suit the kitchen.
Updating a Toronto kitchen? Request a quote from GMT Tile & Reno to review the wall layout and agree where the tile should begin, turn and end.

Adi is the founder and lead professional behind GMT Tile & Reno Inc, bringing over 20 years of hands-on experience in tile installation and renovation. Known for precision, craftsmanship, and attention to detail, he leads projects across Toronto with a strong commitment to quality results and client satisfaction in both residential and commercial spaces.
