
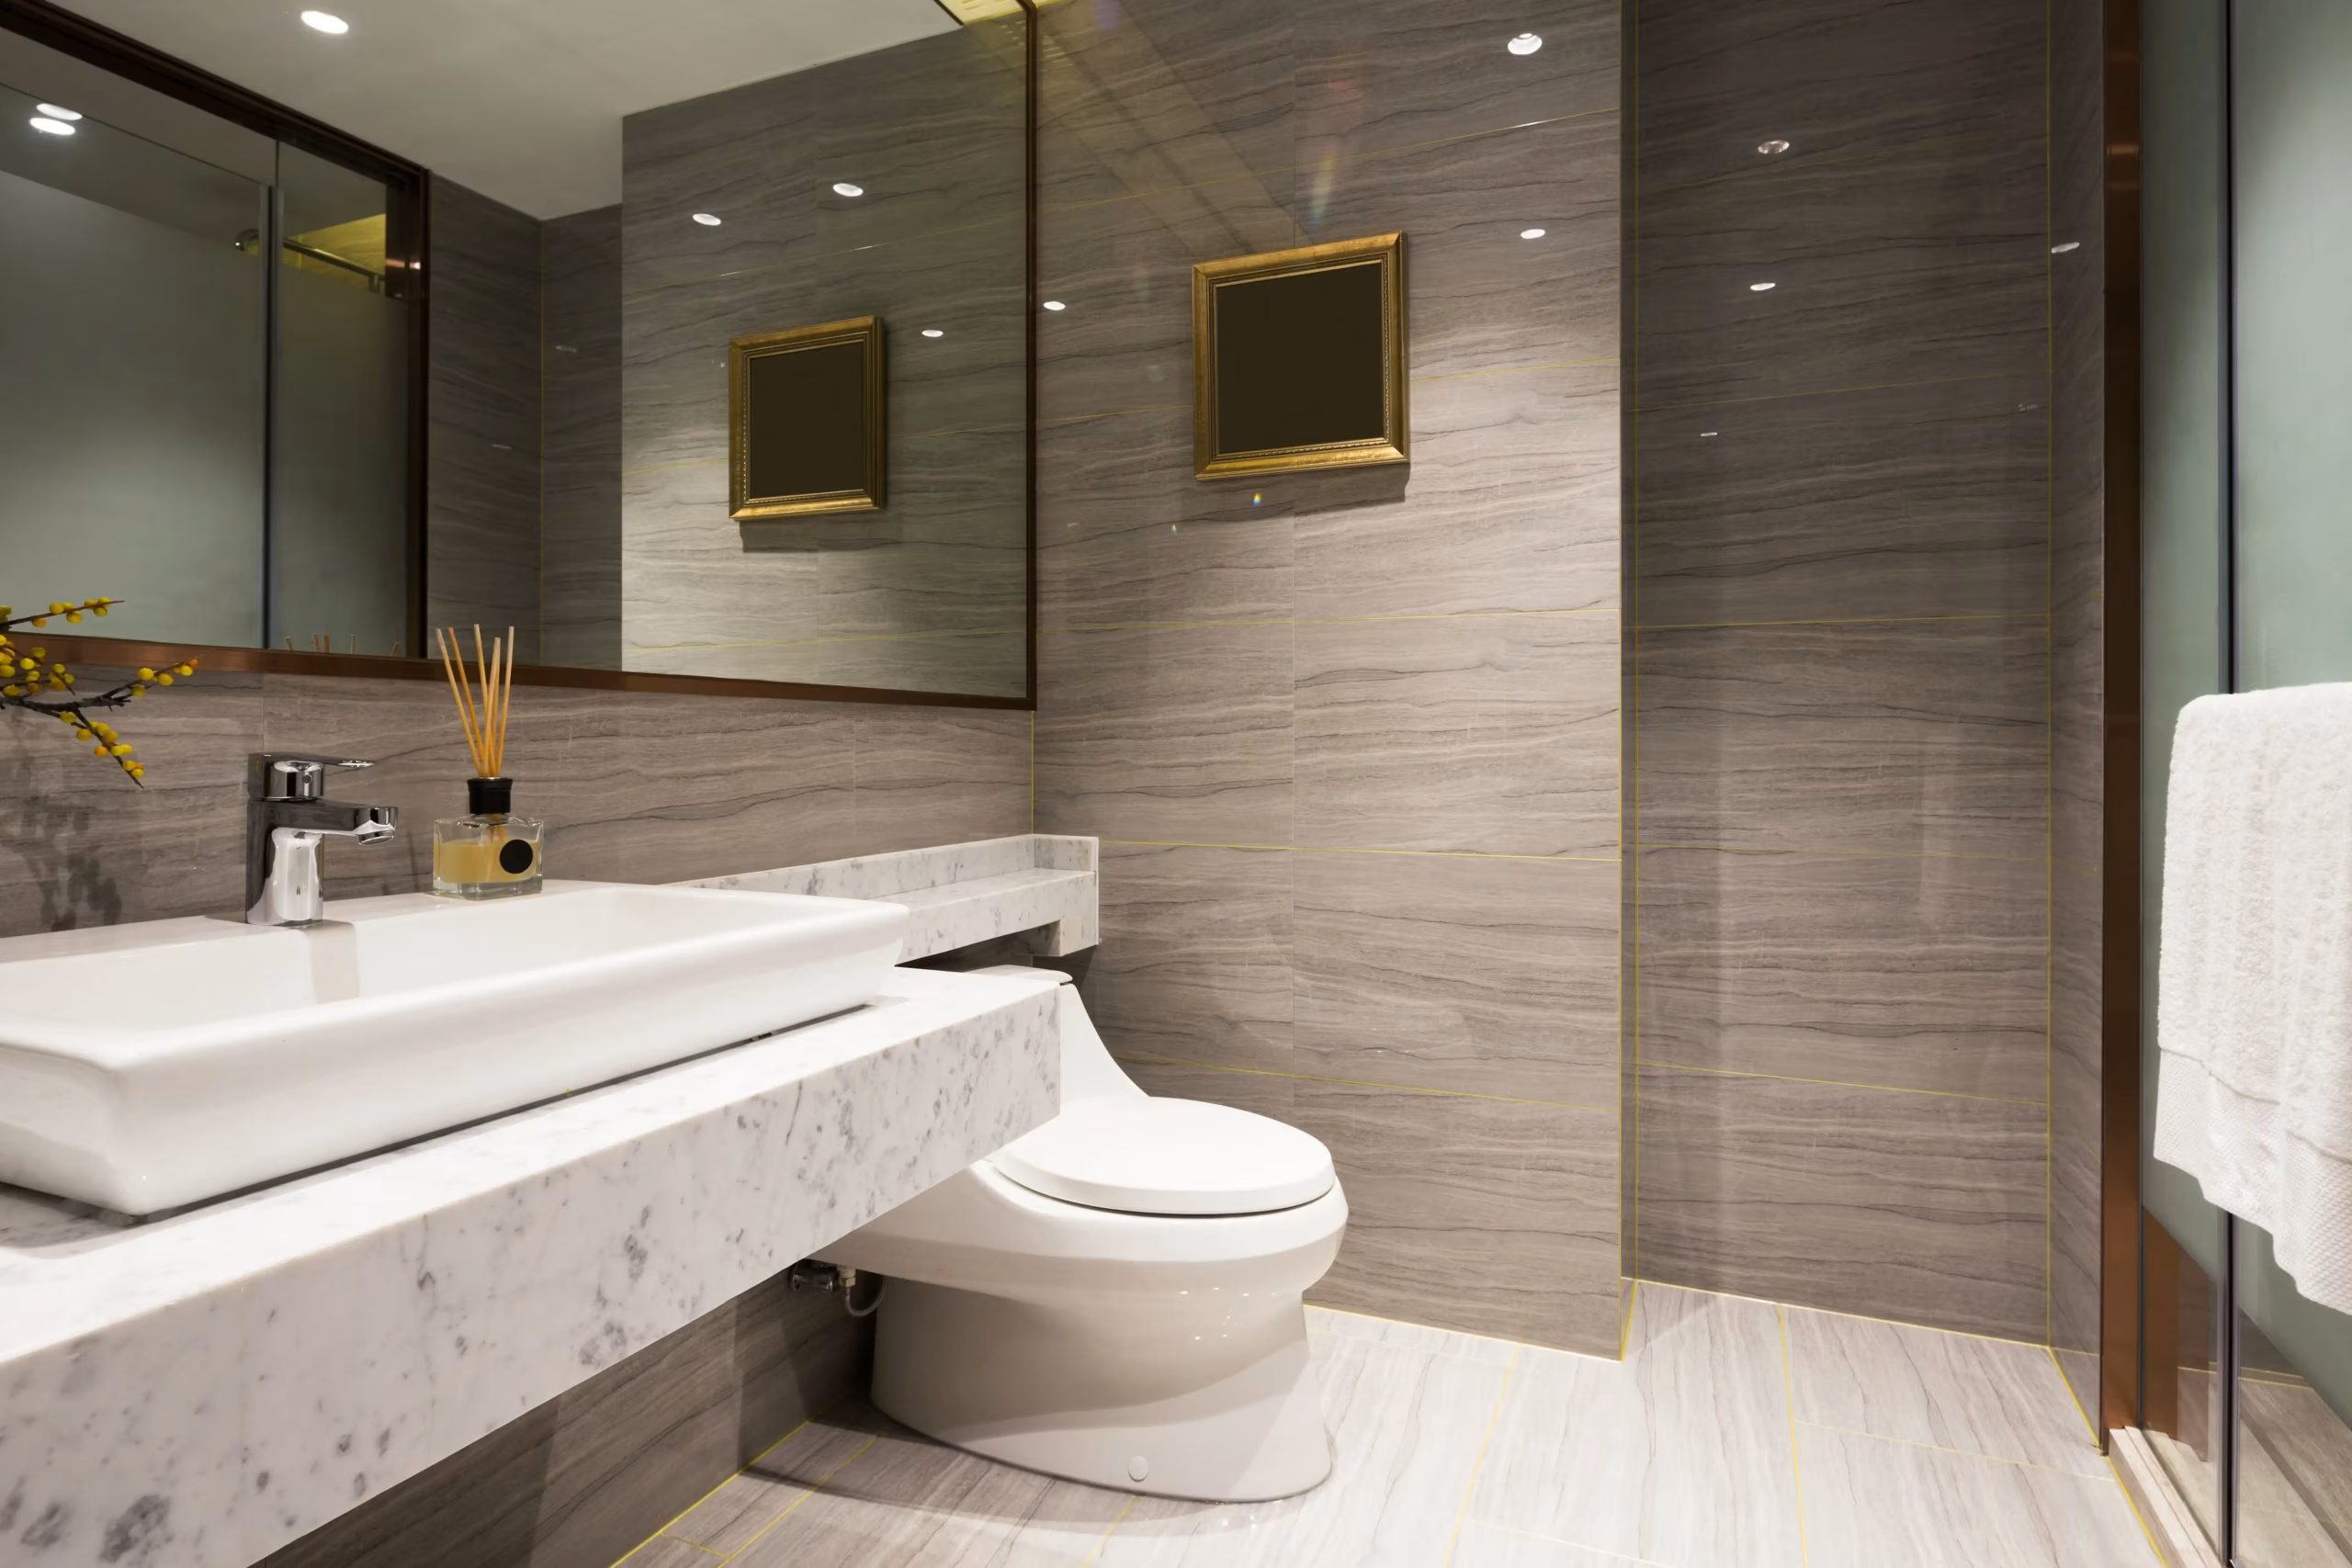
Large tiles can create a quieter pattern across a bathroom, with fewer visible divisions than a smaller format. That does not automatically make them the best choice for every compact room.
A small bathroom may contain several interruptions: a doorway, vanity, toilet, shower entrance and changes between surfaces. Their positions affect how full tiles and cut pieces fit.
The useful question is not whether large tiles “make a room look bigger.” It is whether the proposed format creates a balanced layout while meeting the practical requirements of the installation.
For Toronto homeowners, reviewing that arrangement before purchasing can prevent a sample-board favourite from becoming an awkward series of cuts.
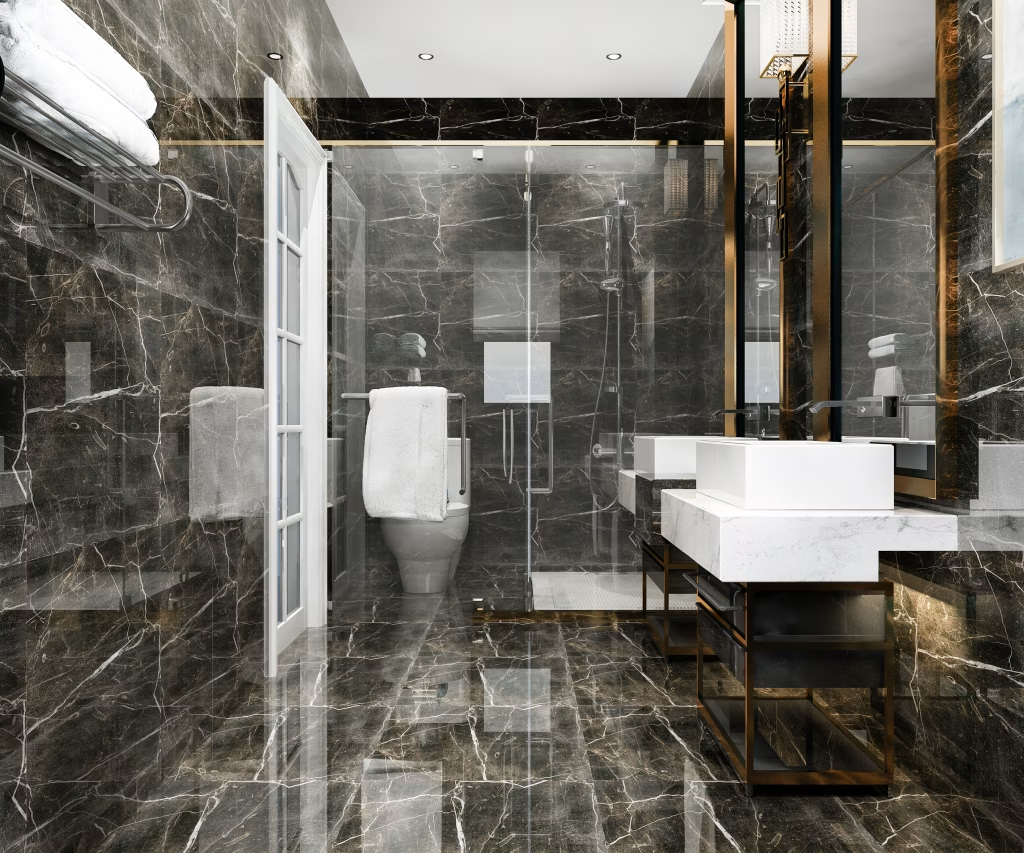
Start With the Finished Room Dimensions
Approximate room measurements help narrow the options. The layout needs to account for the surfaces that will actually be tiled.
Confirm what is changing:
- Wall finishes.
- Shower dimensions.
- Vanity size and position.
- Doorway trim.
- Floor transitions.
- Niches or recessed features.
- Any built-in storage.
If the renovation is still developing, identify which dimensions remain provisional.
A tile format selected around the existing room may fit differently once walls are finished or fixtures move. Ask when the relevant measurements can be confirmed before the order is finalised.
Compare Formats on the Same Drawing
Looking at two tile samples does not show how either will divide the room.
Ask for a layout discussion using the same bathroom plan. Compare more than one size where appropriate.
Include the proposed grout joints so the arrangement represents the installation rather than an edge-to-edge grid.
Look at:
- Full pieces.
- Cut pieces.
- Doorways.
- Prominent wall edges.
- Fixture positions.
- Changes in direction.
The aim is not to eliminate every cut. It is to place them deliberately.
Our bathroom tile installation service should connect the tile format with the room’s actual dimensions and installation conditions.
Decide Which View Matters Most
A bathroom is rarely viewed from only one position.
The doorway may frame the main view. Inside the room, the shower wall or the area around the vanity may become more prominent.
Identify the surfaces you want to give visual priority.
For example:
We want the wall opposite the entrance to look balanced, even if the cuts behind the vanity are less symmetrical.
That is a useful design preference to discuss. It does not mean hidden areas can be installed without care; it helps establish where the visible pattern matters most.
Avoid assuming that centring the layout on the room automatically produces the best result around every fixture.
Look at the Cuts Before Counting Grout Lines
Fewer grout lines can be appealing, but their reduction is only one part of the design.
A very large format may produce several narrow or visually awkward pieces where it meets the room boundaries. A slightly smaller option may create a more balanced arrangement.
Compare:
| Layout Feature | What to Review |
|---|---|
| Doorway | The piece visible as you enter |
| Main wall | Balance between full and cut tiles |
| Vanity area | Relationship with cabinet edges and backsplash |
| Shower entrance | How the layout meets the enclosure boundary |
| Corners | The appearance of adjoining cut pieces |
| Floor perimeter | Whether cuts look intentional around the room |
Ask to see where the proposed layout starts and how that choice affects the opposite edge.
A full tile at one wall is not automatically preferable if it leaves an undesirable cut at the most visible boundary.
Consider Pattern Direction
Rectangular tiles introduce a directional choice.
Their orientation can change the visual rhythm of a wall or floor. Patterned tiles may also have markings that need consideration across adjoining pieces.
Review the proposed direction from the doorway and other normal viewing positions.
Ask:
- Which way will the tiles run?
- Does that direction continue into the shower?
- Will wall and floor patterns relate?
- How will corners be treated visually?
- Is a feature pattern intended?
Do not rely on a general rule that one direction always makes a bathroom appear wider or taller.
A marked plan or a representative arrangement of pieces provides a more relevant comparison.
Coordinate Niches and Other Features Early
A niche, bench or recessed shelf can become a focal point within a tiled surface.
Its size and position may affect the tile arrangement—and vice versa.
Before construction is fixed, discuss:
- The intended feature dimensions.
- Its relationship with the tile format.
- Exposed edges.
- Internal finishes.
- The pattern around it.
- Any associated installation requirements.
Do not change a functional feature solely to avoid a cut without considering how it will be used.
Equally, leaving the tile layout until after every feature is built can limit the available visual options.
The relevant providers should coordinate these decisions while changes remain practical.
Treat the Shower Floor as Its Own Selection
The main bathroom floor and the shower floor do not automatically need the same tile format.
A shower floor has its own layout, drainage and installation considerations. The selected tile needs assessment within that complete arrangement.
Ask the installer:
- Is the proposed product suitable for this location?
- How does its size relate to the planned surface?
- What cuts or layout changes are involved?
- Would another format better suit the arrangement?
- How will the transition look?
Avoid choosing from appearance alone or assuming a large tile can simply continue through every part of the bathroom.
Coordinated colours or materials can create a relationship without requiring identical formats everywhere.
Assess the Surface Beneath the Tile
Large-format selection should not proceed independently of the installation assessment.
The existing floor or wall may need preparation before the selected tile can be installed appropriately. The extent cannot be established from the sample’s appearance.
Tell the contractor about known cracks, previous repairs, moisture concerns or uneven areas.
Clarify:
- What preparation is included.
- Which conditions are already confirmed.
- What remains concealed.
- How additional findings are handled.
- Which system is proposed for the location.
Do not assume a larger tile bridges over an unsuitable surface or removes the need for preparation.
The format and the supporting installation need to be considered together.
Choose Grout as Part of the Pattern
Grout colour influences how strongly individual tiles stand out.
A contrasting choice can emphasise the grid. A closer colour relationship may create a more continuous impression.
Compare the options beside the actual tile rather than selecting grout from memory.
Ask about:
- The proposed product.
- Suitable joint arrangement.
- Colour.
- Care requirements.
- Relevant limitations.
Do not request the narrowest possible joint purely to reduce its visibility. The installation needs to suit the tile and system requirements.
The agreed layout should reflect the joint arrangement that will actually be used.
Include Exposed Edges and Doorway Transitions
The finished appearance depends on more than the broad tiled areas.
Review where tile stops beside painted walls, meets a doorway or changes to another floor finish.
Ask how those boundaries will be completed.
| Boundary | Decision to Confirm |
|---|---|
| Tile-to-paint edge | Proposed finish and stopping point |
| Doorway | Transition position and finished heights |
| Niche edge | Included finishing component |
| Shower boundary | Relationship with the enclosure |
| External corner | Agreed treatment and appearance |
| Retained surface | How the new work meets it |
These details may involve components that need ordering alongside the tile.
A layout should not be approved while every visible edge remains an installation-day decision.
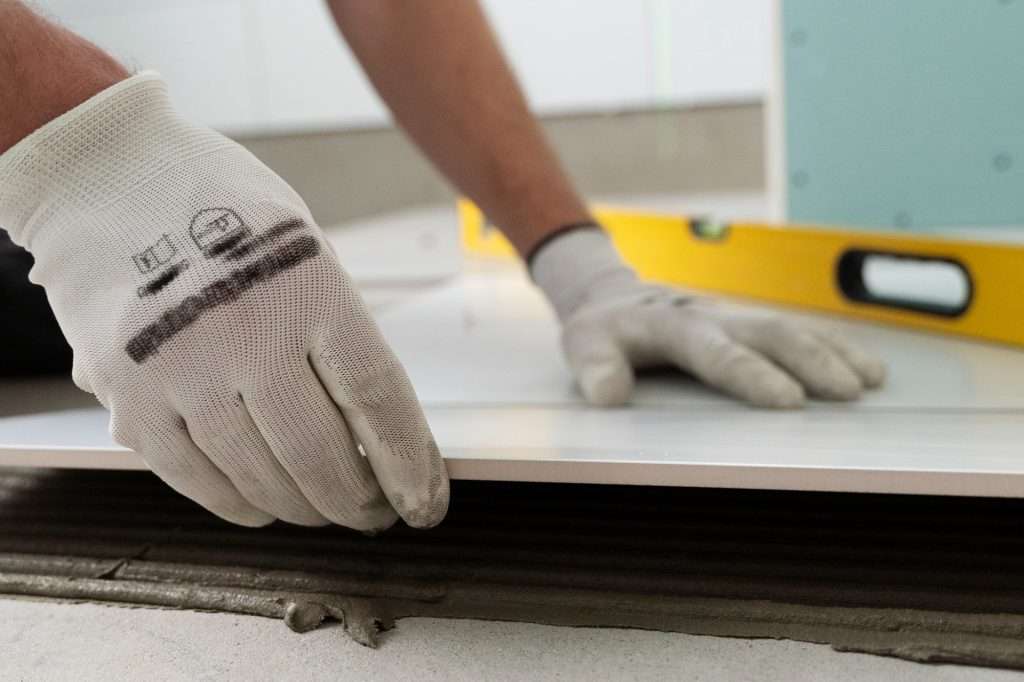
Plan Ordering and Access
Larger pieces can introduce different delivery and handling arrangements.
Ask the contractor what access is needed and who will check that the selected material can be brought into the bathroom.
Also agree on quantities. Cuts, pattern and spare material should be considered for the actual layout rather than calculated from floor area alone.
Confirm:
- Who orders the tile.
- Which quantities have been approved.
- Who handles delivery.
- Where material can be stored.
- What happens if pieces arrive damaged.
- Which finishing items are included.
Do not commit to a substantial purchase before the selection and arrangement have been reviewed.
Approve the Complete Layout
Before installation begins, make sure the key choices are recorded together.
Keep a reference showing:
- Tile product and format.
- Included surfaces.
- Orientation and pattern.
- Main starting points.
- Grout selection.
- Feature details.
- Edge treatments.
- Agreed transitions.
If a change becomes necessary, discuss how it affects the wider arrangement before work continues.
The goal is a layout chosen for your bathroom—not simply the largest tile that fits through the door.
Frequently Asked Questions
Are large tiles a good choice for a small bathroom?
They may be, depending on the product, room dimensions and proposed layout. Compare cuts, fixture positions and visible boundaries alongside the reduced number of grout lines. Size alone does not establish the best arrangement.
Should the same large tile continue onto the shower floor?
That needs assessment for the shower’s particular design and installation requirements. Discuss suitability, drainage, cuts and transitions before assuming one format belongs on every surface.
Can fewer grout lines eliminate cleaning and maintenance?
No. The selected tile, grout and other components still need appropriate care. Ask for product-specific guidance and consider the whole surface rather than judging maintenance by the number of joints alone.
Compare the Arrangement Before Buying the Format
A well-planned bathroom balances the tile’s appearance with cuts, features, transitions and installation needs.
Considering large tiles for your Toronto bathroom? Request a quote from GMT Tile & Reno to review the format alongside the room layout before finalising the order.

Adi is the founder and lead professional behind GMT Tile & Reno Inc, bringing over 20 years of hands-on experience in tile installation and renovation. Known for precision, craftsmanship, and attention to detail, he leads projects across Toronto with a strong commitment to quality results and client satisfaction in both residential and commercial spaces.
