

A new tile floor can look right throughout the room and still feel unfinished where it meets the wood flooring beside it. An unexpected step, a wide strip across a doorway or an awkward line through an open space can draw attention away from the installation.
These problems often begin before the first tile is laid. Tile thickness is compared with wood thickness, but the materials underneath are overlooked. The dividing line is left undecided, or the transition trim is chosen after both floors are complete.
When planning residential tile installation in Toronto, include the adjoining floor in the design. The transition affects how the rooms connect, how the edge is finished and how comfortable the junction feels underfoot.
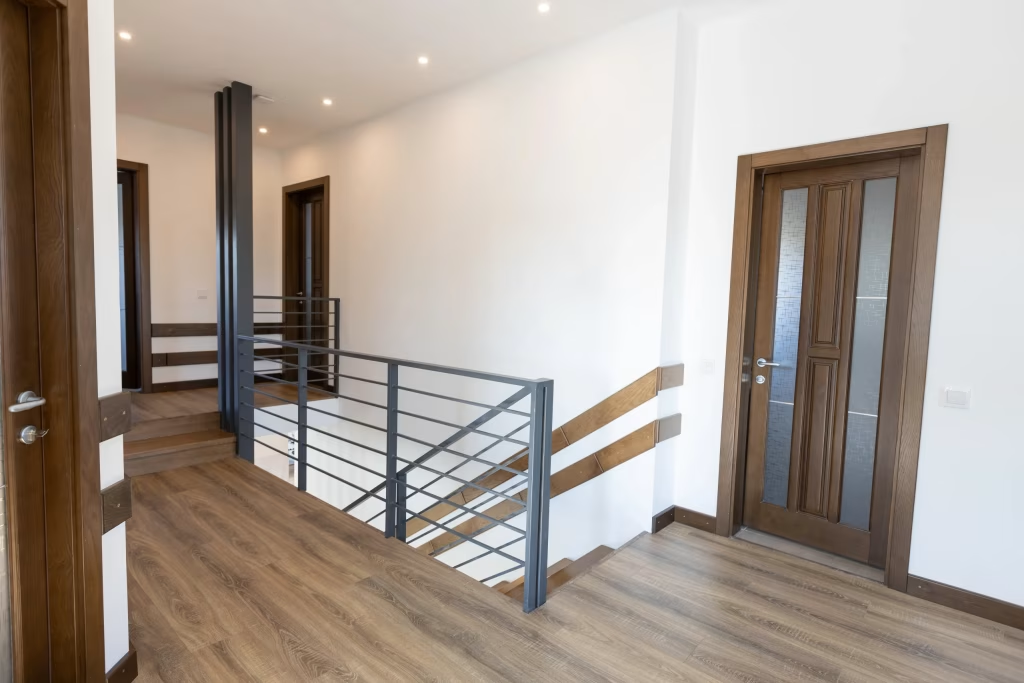
Compare the Complete Floor Heights
Two flooring samples placed side by side do not show the finished height of either installation.
The tile side may include preparation materials, an underlayment or membrane, setting mortar and the tile itself. The wood side has its own assembly, which may be staying in place or being replaced.
The starting surface can also differ between rooms. Removing old flooring may reveal layers that were not visible during the initial visit.
Ask for the proposed finished heights to be compared at the actual junction. That comparison should account for the planned installation materials rather than relying only on the thickness printed on the tile box.
For example, a tile sample that appears thinner than the existing wood could finish higher once the supporting layers are included. Discovering this before installation gives you more options for managing the difference.
Decide Whether the Wood Floor Is Staying
Keeping an existing wood floor creates a different planning problem from installing both surfaces together.
If the wood is staying, its finished height and condition become fixed reference points. The tile assembly needs to be assessed against them, including the condition of the exposed wood edge.
If both floors are being replaced, the installers have more opportunity to coordinate heights and sequencing. That does not guarantee a flush junction, but it allows the connection to be planned as part of the overall work.
Clarify these points early:
| Project situation | What needs coordinating |
|---|---|
| Existing wood remains | Its height, edge condition and protection during tile work |
| New tile and new wood | Both floor assemblies and the installation sequence |
| Wood will be replaced later | An interim finish and the likely future floor height |
| Several rooms meet | Each junction, rather than assuming one detail suits them all |
If a future wood replacement is only a possibility, say so. The current tile installation still needs a complete, usable edge rather than depending on an uncertain later project.
Choose Where the Materials Meet
A floor transition is also a line in the room. Its position can make the change of material feel deliberate or arbitrary.
At a doorway, review the junction with the door both open and closed. Depending on the frame and door position, placing the transition beneath the closed door can help each room read as having its own floor finish.
That location should be confirmed on site. The centre of the wall opening is not always the same as the position beneath the door.
In an open kitchen or entrance, there may be no door to conceal the junction. Use permanent features to help establish the line, such as a wall return, opening or defined circulation area.
Avoid basing the boundary solely on movable furniture. A transition that follows the current sofa position may look misplaced after the room is rearranged.
Separate Height Changes From Edge Protection
Transition products serve different purposes. Some protect an exposed tile edge at a same-height junction. Others accommodate a change in level. A product selected for appearance alone may not suit the connection.
Schluter, for example, distinguishes profiles intended for same-height floor coverings, including transitions between tile and wood. This illustrates why the actual floor relationship needs confirming before the profile is selected.
Discuss three separate questions:
Are the finished surfaces at the same height?
This establishes whether a level transition or a height-changing detail is needed.
How will the tile edge be protected?
The edge should have a planned finish rather than an exposed cut left beside the adjoining flooring.
What movement allowance does the junction require?
A neat-looking strip does not, by itself, answer how the two flooring systems meet.
Review the proposed product and installation detail together. A narrow profile, wood moulding and reducer can create quite different results.
Do Not Sacrifice the Floor Assembly to Chase a Flush Finish
A level connection is often desirable, especially along a frequently used route. However, it should be achieved through a suitable floor design.
Ask what would be required to bring the surfaces closer in height. Depending on the project, that may involve preparation beneath one or both finishes, a different material selection or a revised transition detail.
Do not assume the tile can simply be set with less mortar or that a required supporting layer can be omitted. The assembly still needs to meet the requirements of its selected materials.
Sometimes a modest, properly designed height change is the practical outcome. The important point is to understand and approve it before the floor is installed.
If someone in the household uses a walker, wheelchair or other mobility aid, raise that requirement at the planning stage. Review the proposed junction for the way it will actually be crossed.
Allow for Movement at the Junction
Tile and wood flooring should not be treated as one continuous, rigid surface. The connection needs to respect the installation requirements of both flooring systems.
Confirm whether the adjoining wood is solid or engineered, and how it is installed. The relevant flooring instructions should guide the clearance and transition detail.
On the tile side, movement accommodation remains part of the assembly. Schluter’s guidance identifies movement joints at locations including doorsills and restraining structures to reduce stress within tile coverings.
For homeowners, the useful question is: How does the proposed transition allow the adjoining floors to perform as intended?
The answer should describe the detail being installed. It should not rely on filling every visible gap with rigid grout to make the junction disappear.
Review the Transition With the Tile Layout
The transition position affects the tile cuts leading into it.
Moving the boundary slightly may improve a narrow cut at an entrance, but it could also change the layout elsewhere. The installer should review the room as a whole before fixing the starting point.
Look at:
- The tile width at the doorway or open boundary.
- The direction of rectangular tiles.
- The relationship between the tile pattern and wood boards.
- The width and finish of the visible transition.
- How the line ends beside skirting, cabinets or door trim.
You do not need the tile joints to align with every wood board. Instead, look for a clear relationship between the two surfaces.
For example, a straight tile boundary may work well against wood boards running in the opposite direction. Introducing a stepped or decorative edge creates additional cuts and junction details that should be reviewed before committing to the design.
Check Doors and Nearby Fittings
Changing the finished floor height can affect more than the junction itself.
A door that clears the current floor may not clear the new assembly or a raised transition. Door stops, trim and nearby cabinetry can also influence the available space.
Check operation before approving the final detail. Confirm whether any door adjustment or finishing work is included in the project.
At kitchen entrances, consider appliance access too. A floor change should be reviewed alongside the route used to remove or replace appliances, particularly where clearances are already tight.
These checks are easier while the floor design is still adjustable.
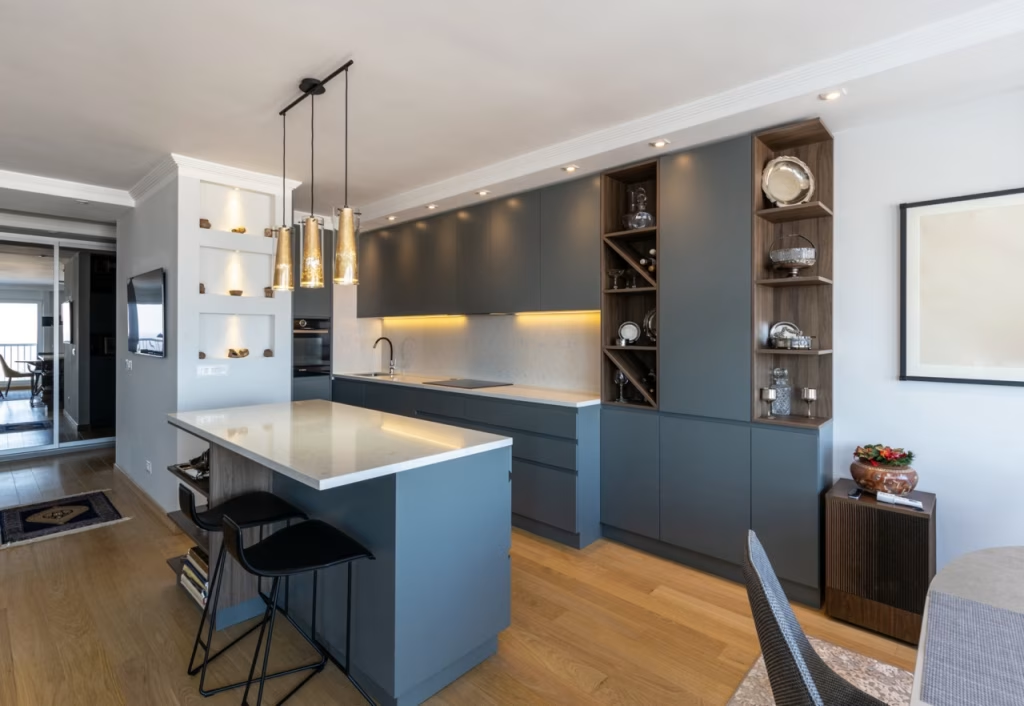
Choose the Visible Finish With Real Samples
Once the technical detail is established, compare the visible finishes in the room.
A metal profile may coordinate with hardware or create a discreet dividing line. A wood moulding may relate more closely to the adjoining floor. A wider reducer will have a stronger visual presence than a slim edge profile.
Bring the actual tile and wood samples together with the proposed transition finish. View them in the room’s lighting.
Pay attention to undertones as well as colour. A warm wood floor, cool grey tile and bright metal strip can each look attractive separately while creating a combination you do not like.
Also consider the practical profile underfoot. A photograph may show its colour clearly while concealing how much it rises above the flooring.
Confirm the Detail Before Materials Are Installed
Some transition profiles are incorporated during tile installation. Leaving the choice until the room is finished can limit the available options.
Before work reaches the junction, confirm:
- The exact boundary between materials.
- The expected finished height on each side.
- The selected transition product or detail.
- The movement allowance required by the flooring systems.
- Who supplies and installs each component.
- Who completes any adjoining wood or door adjustments.
Where separate tile and wood installers are involved, both should work from the same agreed detail. This helps avoid one trade finishing to a line or height the other was not expecting.
Frequently Asked Questions
Can tile and wood flooring finish at the same height?
They can in some projects, but the complete floor assemblies need to be compared. Preparation, supporting layers and existing conditions all affect the result. Confirm the proposed heights before purchasing materials or starting installation.
Where should a tile-to-wood transition sit in a doorway?
Review its position with the door open and closed. A junction beneath the closed door can provide a tidy separation between rooms, but the actual door and frame position should determine the location.
Should I choose the transition strip after the tile is installed?
Choose the transition detail beforehand. Some profiles need to be incorporated during installation, and the selection depends on the finished heights, edge protection and movement requirements at the junction.
Make the Connection Part of Your Tile Project
A well-planned floor includes the point where it meets the next room. Agreeing on the height, boundary and edge detail early helps you understand the finished result before installation begins.
For a tile project adjoining wood flooring in your Toronto home, request a quote from GMT Tile & Reno and include the transition in the work you want assessed.

Adi is the founder and lead professional behind GMT Tile & Reno Inc, bringing over 20 years of hands-on experience in tile installation and renovation. Known for precision, craftsmanship, and attention to detail, he leads projects across Toronto with a strong commitment to quality results and client satisfaction in both residential and commercial spaces.
